DIY Ranch Photography- Part 5- Photo Overload
You have the raw images captured, now what?
The fun begins. Bask in your glory. It is similar to Christmas morning. Open the presents/files/images and see what you got.

Remember how many photos you took? And they didn’t cost you a thing? Now start deleting.
I find it simplest to flip through quickly and make a round of cuts. Delete any obvious errors: pocket shot, eyes closed, animals ears down and tail up… if the photo doesn’t have any salvage value delete it. This will begin to reduce total and you’ll move closer to dealing with a manageable amount.
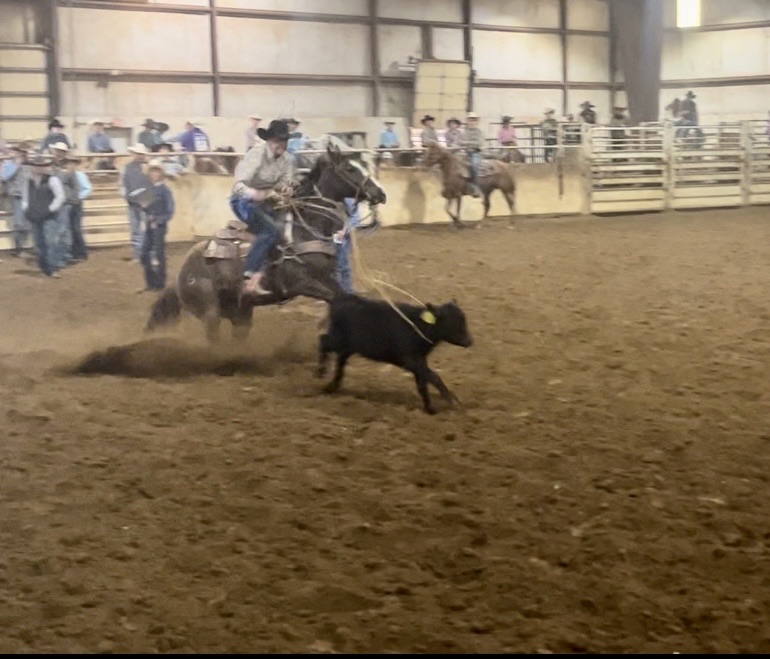
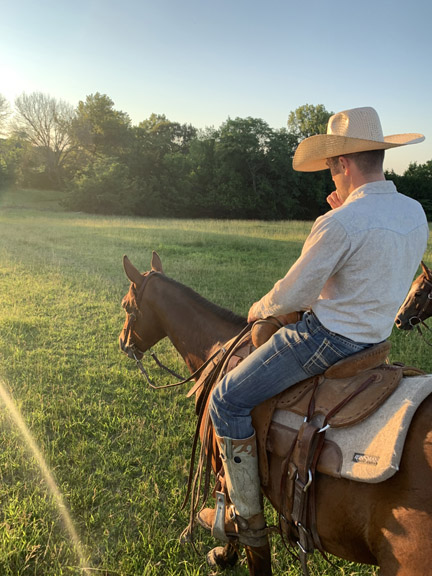
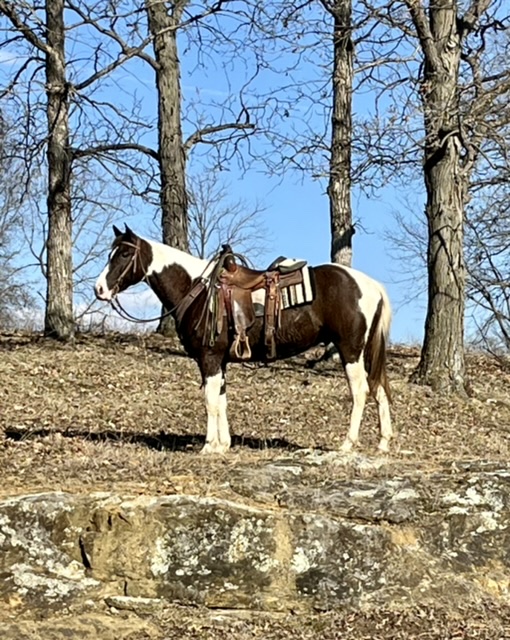
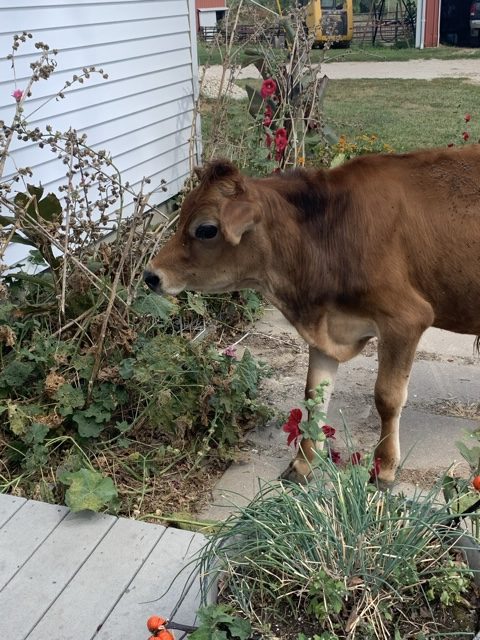
If you come across photos with small flaws: a distracting shadow, a blurry corner, your finger… make the simple cropping edits now. Even if the whole camera view isn’t perfect, there might still be some awesome portion worth saving. The photos you see in the end aren’t always as they start. A tail swish, a distracting rock or patio furniture might have ruined these next photos, but with some cropping, they made the final cut and weren’t deleted.
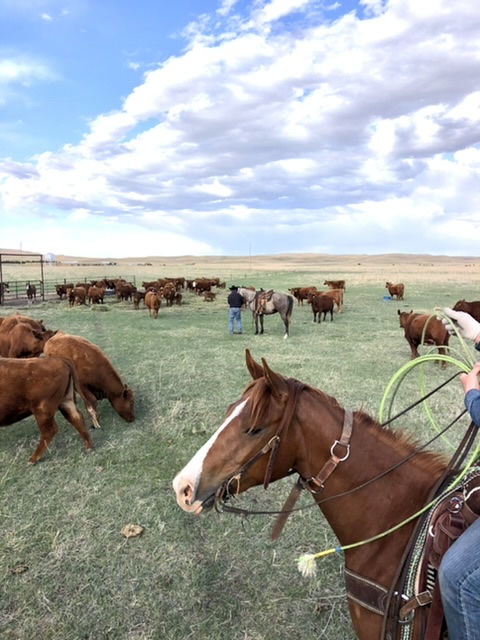
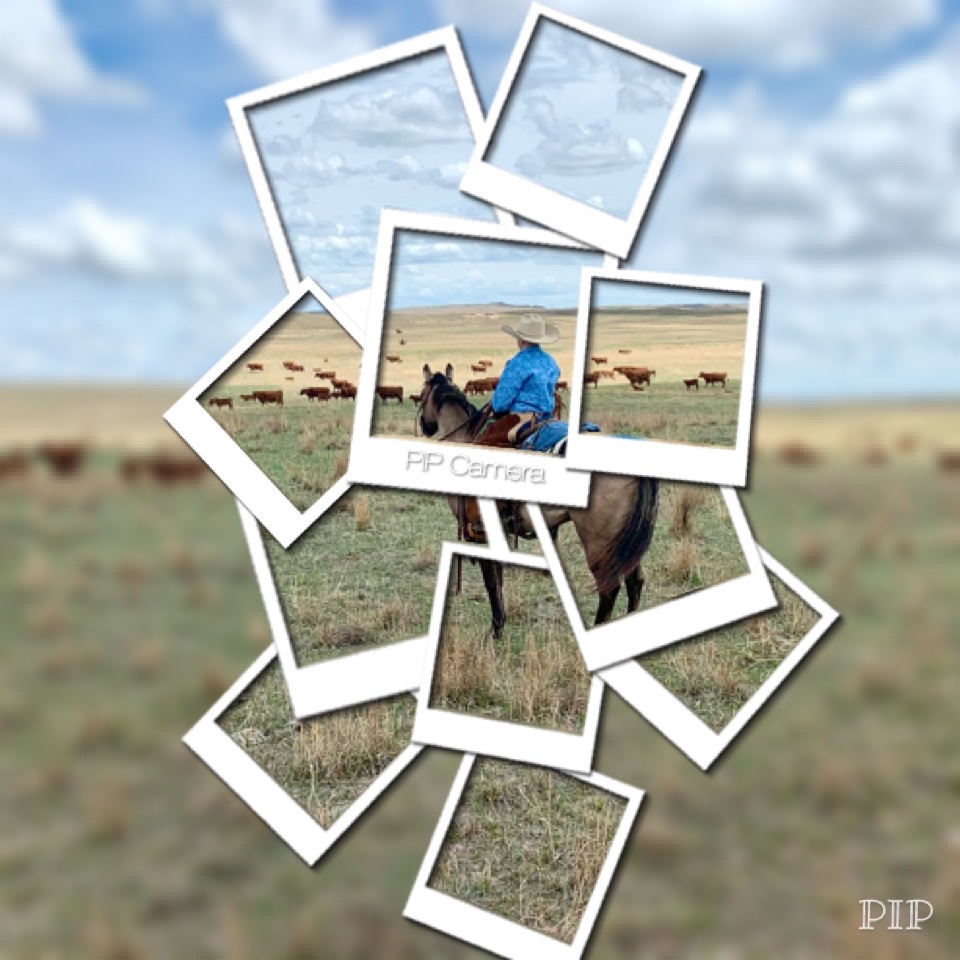
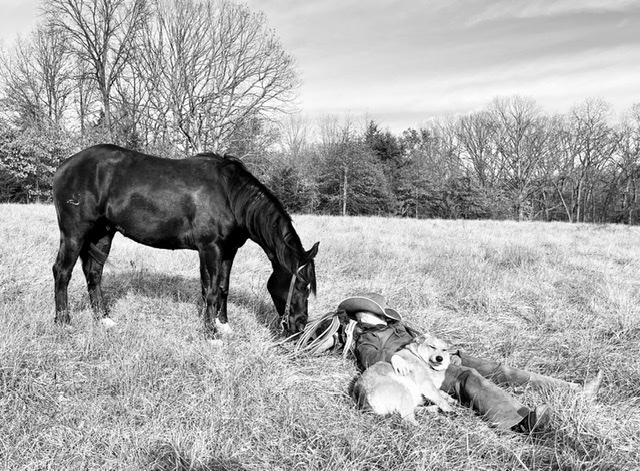
I then find groupings of similar shots. If there are 4-5 photos at the same angle of the same focus, pick your favorite and delete the others. Occasionally I will keep a couple to use for future editing. Use one as a closeup and keep the original. Or, like these photos displayed next, make one black and white and keep the other in color.

Sort what you have left. Did you take pictures of multiple horses? Put them in separate folders. Maybe you prefer to sort by platform. Photos for Facebook vs. photos for catalog submission. Or maybe you ended up getting a group of funny outtakes. Organizing will reduce the overload and increase your ability to manage what you have.
Related Posts & Pages:
DIY Ranch Photography Series
Part 1
Part 2
Part 3
Part 4